
Most plant problems trace back not to bad luck but to overly complicated care advice. When gardeners try to follow every tip they encounter — adjusting humidity levels daily, using multiple fertilizers, or repotting plants every season — they often end up overwhelming themselves and stressing their plants. The truth is that simple, consistent habits produce the most reliable results.
Whether you grow plants indoors on a windowsill or outdoors in a garden bed, a handful of repeatable strategies can make a real difference in plant health, growth rate, and longevity. This guide walks through the most effective and beginner-friendly approaches, so you can spend less time troubleshooting and more time enjoying your plants.
Start With the Right Plant for the Space
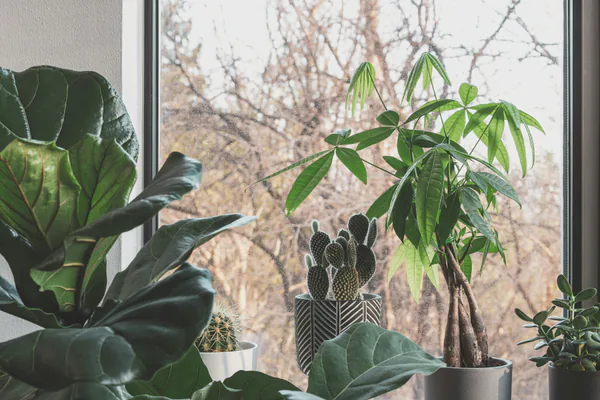
The single most important factor in plant success is choosing a species that suits your actual environment. A cactus in a dim corner and a fern on a sun-baked ledge will both struggle no matter how carefully you tend them.
Match the Plant to Available Light and Temperature
Before buying any plant, observe the space where you plan to keep it. Note how many hours of direct or indirect sunlight reach that spot each day. Then select a species whose natural habitat closely matches those conditions. Plants from tropical forest floors thrive in low to medium indirect light, while Mediterranean herbs and succulents need several hours of bright direct sun to stay healthy.
Temperature consistency also matters. Most common houseplants do well between 60°F and 80°F (15°C–27°C). Avoid placing plants near air conditioning vents, heating units, or drafty windows, as sudden temperature swings slow growth and weaken leaf structure.
Factor in Your Available Time
Choose plants that match how much time you realistically have to give them. If you travel frequently or forget watering days, drought-tolerant varieties are far more forgiving than moisture-sensitive species. Starting with a forgiving plant builds confidence and teaches you the fundamentals before moving on to more demanding varieties.
Use a Consistent Watering Routine
Overwatering is the leading cause of plant decline among beginners, but underwatering is a close second. Neither issue is about following a fixed calendar schedule — it is about learning to read the soil and the plant itself.
Check the Soil Before You Water
Push your finger about one to two inches into the potting mix. If it feels moist, wait. If it feels dry, water thoroughly until liquid drains from the bottom of the pot. This simple test, done before every watering, takes about five seconds and prevents most root rot issues.
- Overwatering signs: yellowing leaves, soggy soil, musty smell, wilting despite wet soil
- Underwatering signs: dry curling leaves, bone-dry soil pulling away from pot edges, drooping stems
- Healthy watering: moist but not waterlogged soil, firm green leaves, steady new growth
Consistency matters more than frequency. Watering deeply once a week is generally more effective than light, frequent splashes that never fully reach the roots.
Improve Soil and Drainage Before Problems Appear
Roots need air as much as they need water. When soil stays compacted or saturated for too long, roots suffocate and rot begins. Choosing and preparing the right growing medium from the start prevents most drainage-related problems.
Select the Right Potting Mix
General-purpose potting soil works for most tropical houseplants, but succulents and cacti need a mix with added perlite or coarse sand to improve drainage. For outdoor garden beds, mixing in compost or organic matter improves drainage in clay-heavy soil and adds water retention to sandy soil. Even a two-inch layer of compost worked into the top eight inches of garden soil makes a measurable difference in root health.
Always Use Pots With Drainage Holes
No matter how carefully you manage watering, plants in pots without drainage holes are at constant risk. If you prefer the look of a decorative pot without a hole, use it as a cachepot — place the plant in a smaller nursery pot with drainage holes inside it, and empty the outer pot after each watering session.
Give Plants the Light They Actually Need
Light is the fuel behind photosynthesis, growth, and leaf color. Matching a plant’s light requirement to its actual placement is one of the most impactful adjustments you can make, and it costs nothing.
Understand the Three Main Light Categories
- Direct light: sunlight hits the leaves without obstruction — ideal for cacti, succulents, and most herbs
- Bright indirect light: near a window but outside the sun’s direct path — suitable for most tropical houseplants
- Low light: several feet from windows or in rooms with small windows — tolerated by a few hardy species
If a plant is not growing or its leaves are turning pale and leggy, move it closer to a light source. If leaf edges are scorching or bleaching, pull the plant back from direct sun. Most plants respond visibly to light adjustments within two to three weeks.
Feed and Prune With a Light Touch
Many beginners either never fertilize or apply too much too often. Both extremes slow growth. A minimal, seasonal approach works best for most species.
Apply a balanced liquid fertilizer at half the recommended strength once a month during the active growing season, typically spring through early autumn. Skip fertilizing in winter when most plants rest. Feeding a dormant plant stimulates weak, leggy growth the plant cannot support.
Pruning follows the same less-is-more principle. Remove dead or yellowed leaves whenever you see them, as they draw energy from healthy growth. Pinch back leggy stems to encourage bushier structure. For flowering plants, removing spent blooms — known as deadheading — encourages more flowers over a longer season.
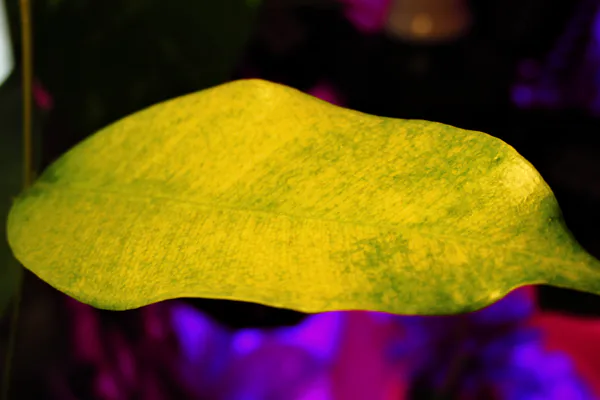
Watch for Early Warning Signs
Plants communicate through their leaves, stems, and soil. Learning to notice small changes early prevents minor problems from becoming serious ones.
- Yellow leaves: usually overwatering, but can also indicate low light or nutrient deficiency
- Brown leaf tips: often low humidity, fluoride in tap water, or inconsistent watering
- Drooping: could signal underwatering, overwatering, or root-bound stress
- Sticky residue or fine webbing: a sign of pest activity such as aphids, spider mites, or scale insects
- Spots or powdery coating: often a fungal issue linked to poor airflow or excessive moisture
Addressing issues at the first sign is far easier than treating a plant that has already declined significantly. Most problems resolve with a single care adjustment made early enough.
Build a Simple Weekly Plant Check
A five-minute weekly walk-through of your plants is the most underrated habit in plant care. It requires no special knowledge — just attention and consistency.
A Quick Weekly Checklist
- Check soil moisture on each plant before deciding whether to water
- Inspect the undersides of leaves for pests or unusual markings
- Remove any dead or yellowing leaves
- Rotate pots a quarter turn so all sides receive even light exposure
- Note any plants that look different from the previous week
This routine takes less time than making a cup of coffee, but it builds the observational habit that separates thriving plant collections from struggling ones. Over time, you will recognize each plant’s normal behavior, making it far easier to spot anything unusual before it becomes a lasting problem.
Simple strategies work because they reduce the friction between you and consistent plant care. When routines are easy to follow, they actually get done. Start with the right plant, water by soil feel rather than calendar date, improve drainage from day one, match light levels carefully, and check in briefly each week. These habits, applied consistently, will lead to healthier and longer-lived plants with far less effort than any complicated care system ever could.